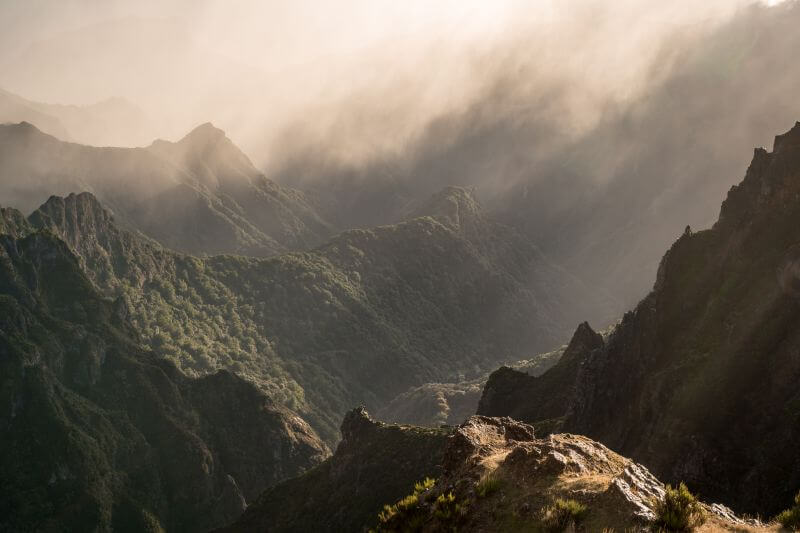
Madeira is famous for its absolutely breathtaking hiking trails. In this article, I will show you 6 hikes where you can experience the diversity of Madeira’s nature, because each one is completely different. These are the perfect hikes for your first visit to the island. In addition to the hikes presented here, I also provide lots of tips on Madeira hiking and how you can discover other fantastic routes.
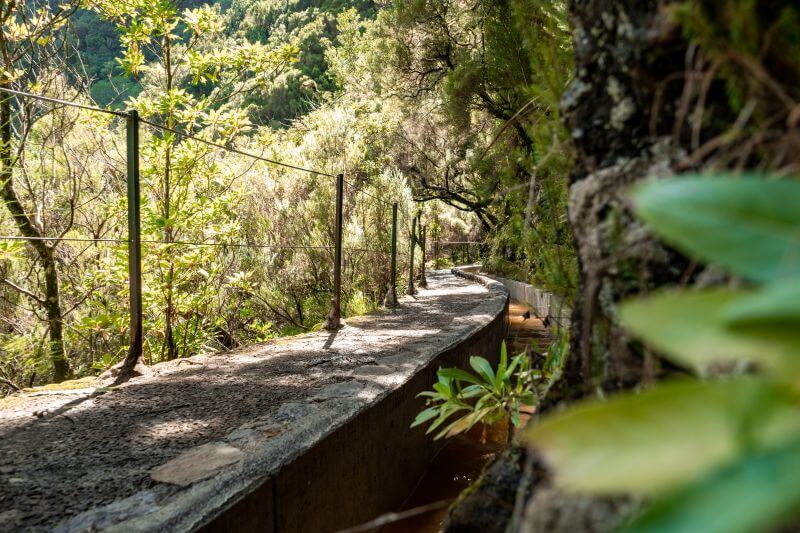
Most tourists come to Madeira for hiking. And not without reason. On the island, which lies in the Atlantic Ocean, there are over 2100 km of hiking trails along the so-called levadas alone. These are man-made water channels in the mountains that bring fresh water from lofty heights to the valleys of the island.
Of course, you can do much more on Madeira than just hiking. You can find the best sights on the island and lots of vacation tips here:
An overview of the official hiking trails in Madeira (also known as Pequenas Rotas, PR for short) can be found here on the website of the official Madeira Tourist Board. On the site you will find all the information about the trails including maps as PDF downloads.
đź’¶ Note: Since 2026, fees have been charged for most classified hiking trails on Madeira. You can find an overview and more information here.
In addition to the official ones, there are many more unofficial hiking trails in Madeira.
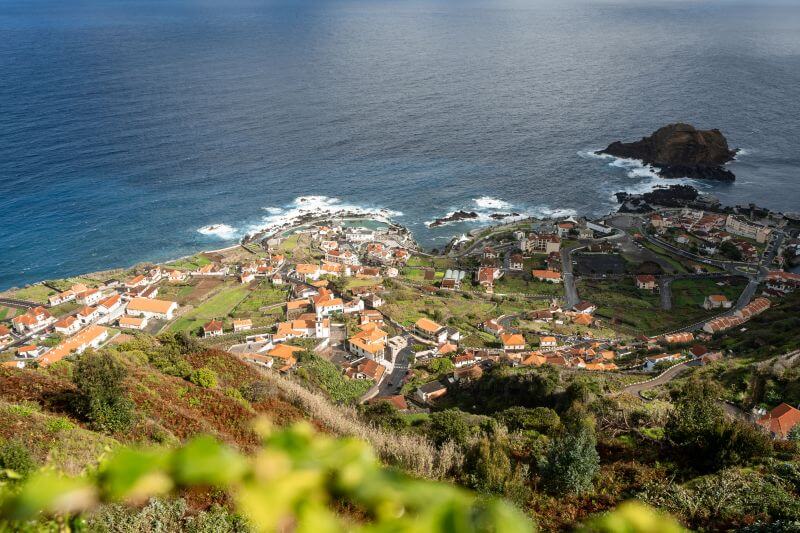
With just one Madeira hiking vacation, however, you won’t even begin to manage this mass of routes. That’s why, in my opinion, the best idea is to choose as many different hikes as possible so that you can discover the diversity of Madeira’s landscape.
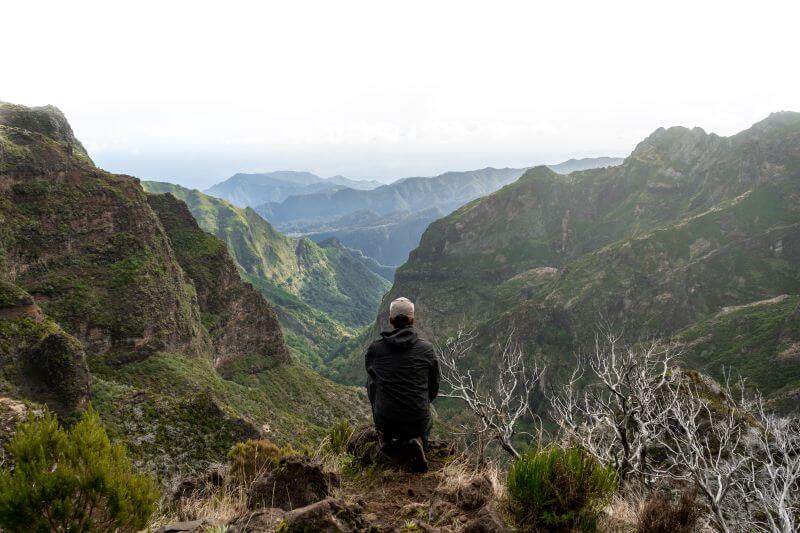
That’s why I’m also giving tips here on 6 Madeira hikes that are completely different and can also be done in a one-week Madeira vacation. I explain why you should hike them and what you need to look out for.
Most hikes on Madeira are not circular routes. This means that you have to walk back the way you came. But in some cases there are options that provide more variety.
PR 6 – Along the levadas through the nature reserve
Distance: approx. 5 km (there and back)
Duration: about 4 hours
Map: Download here
Difficulty level: Medium
For families with children: The route to the 25 Fonte waterfall and also to the lower viewing platform of the Risco waterfall is easy to do with children. However, it would be too much for the extra paths described here.
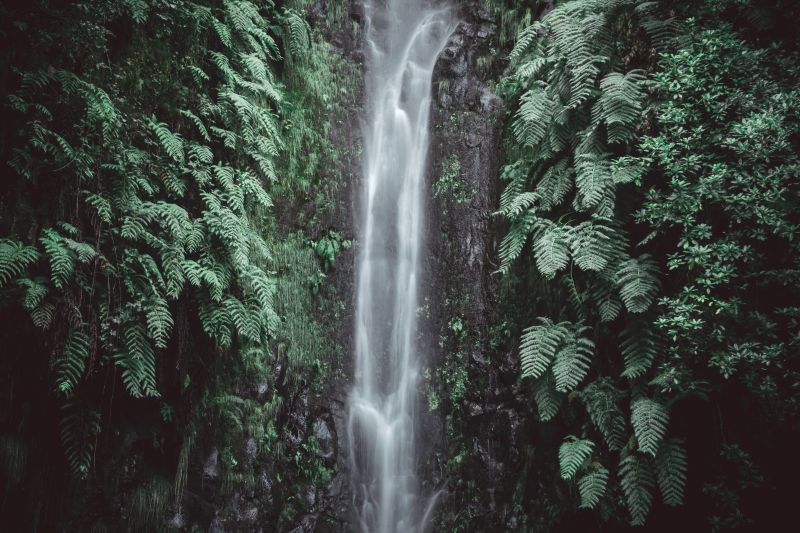
Of course, you should definitely do at least one hike along a levada. One of the most beautiful of these is the PR 6 through the Rabaçal nature reserve. This hike takes you 4.6 km to the beautiful 25 Fontes waterfall.
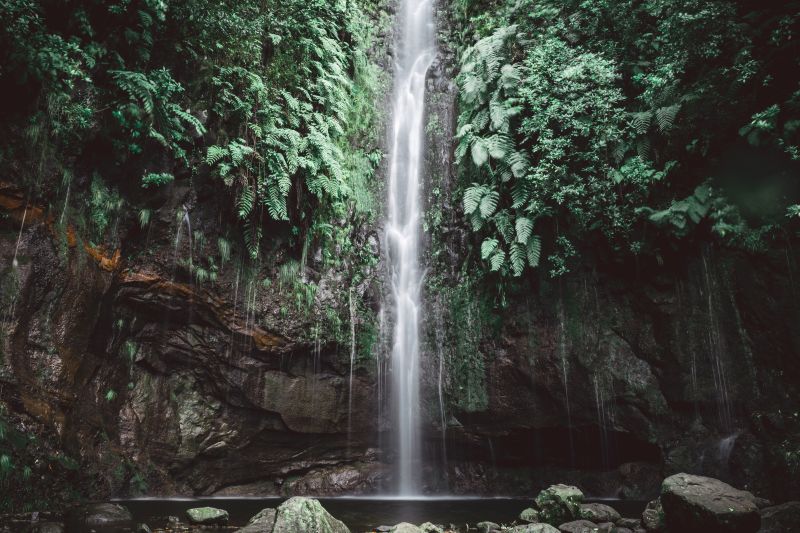
You hike through Madeira’s typical laurel forest with its unique plants, always along a levada.
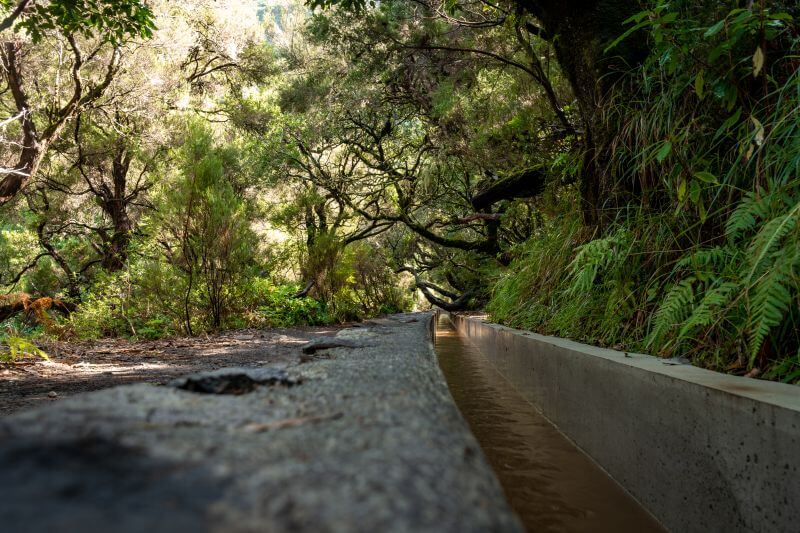
You start at the parking lot on the E.R. 110 regional road and walk along the road to the Rabaçal forester’s lodge. Coffee and cake are also available here. From the forester’s lodge, continue along the PR 6 signs to the waterfall. The route is beautiful, even if there are a lot of tourists walking along it.
The route there and back takes around 3 hours, but there is much more to see in the region than just this one waterfall. I therefore recommend that you plan more time here and hike a few more trails.
A short detour along trail 6.1 takes you from the Rabaçal forester’s lodge to the viewing plateau of the Risco waterfall. However, the Risco waterfall consists of several areas.
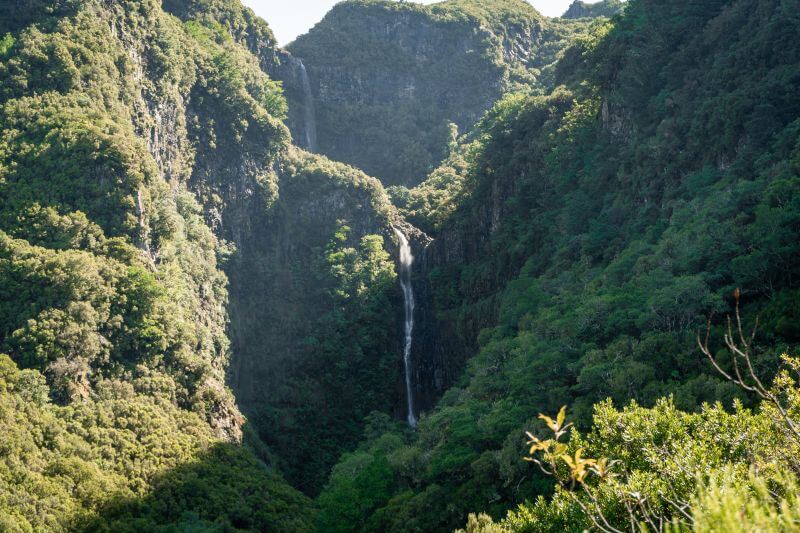
On the way back, I therefore recommend that you take the turn-off to PR 6.2. Right at the steps that lead to the Rabaçal forester’s lodge, you can also continue in the direction of Levada do Alecrim. The path is easy to miss, but the signs will show you the way.
At first you walk upwards along a narrow and dark path. You then come to a fork, which you first follow to the left in the direction of Lago do Vento. This is more or less the middle terrace of the Risco waterfall, which you can already see from below on the way to the 25 Fontes waterfall.
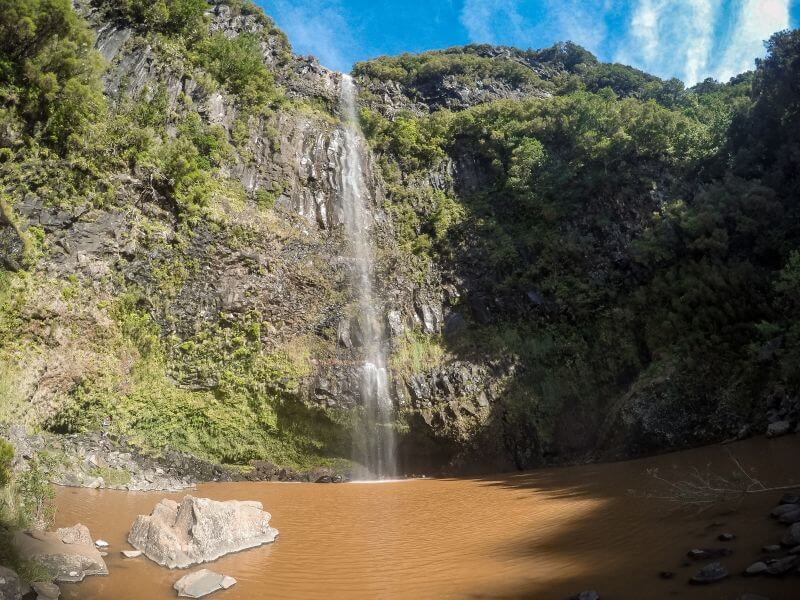
You can linger here for a while before continuing upwards. At some point you will reach the actual PR 6.2 along the Levada do Alecrim. From here it is quite easy. Follow the water channel along the current until you arrive back at the starting point at the parking lot. This takes about 1 to 1.5 hours.
PR 19 – Down the steep coast from Prazeres to Paul do Mar
Distance: 1.8 km (each way)
Duration: About 3 hours (there and back)
Map: Download here
Difficulty level: Medium – difficult
For families with children: I would not recommend it. The path is too steep and strenuous for children.
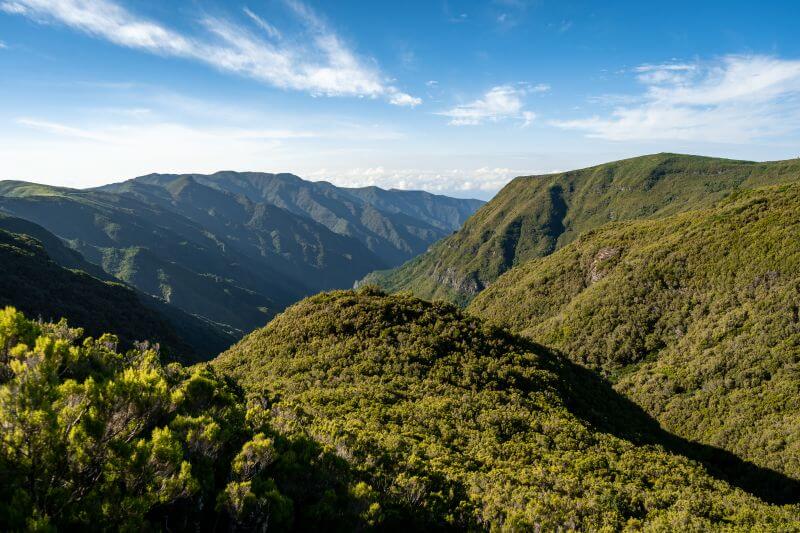
This spectacular route takes you 1.8 km along the steep coast 550 meters down to the small village of Paul do Mar. It is impressive to see how wind and water have carved strange cave formations into the rocks here.
The trail starts directly at the Hotel Jardim Atlantico and initially takes you past a few houses and a leisurely path along meadows and a few trees. But it doesn’t take very long before it gets really steep.
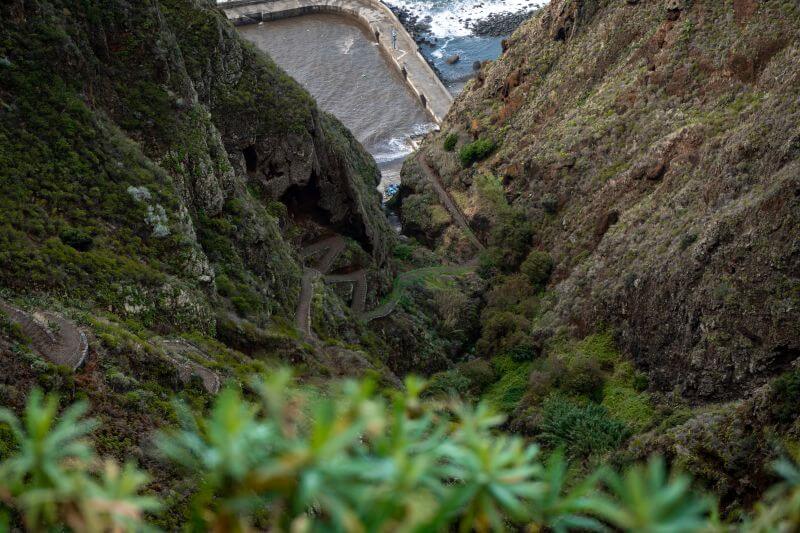
The route takes you past the cliffs from where you always have a great view of the coast as well as the waterfalls next to the route. The wind is sometimes quite strong here. So you should definitely take a jacket with you.
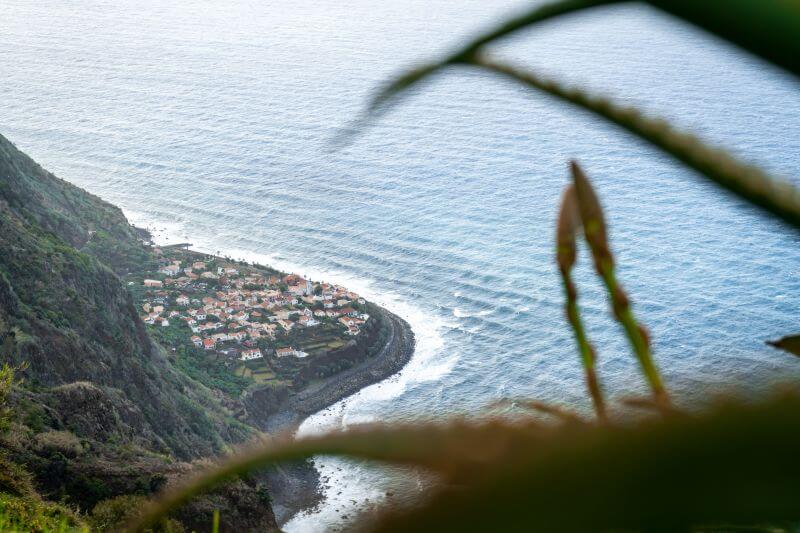
The steps paved with round stones are also likely to be very slippery when it rains. I would therefore advise against walking this trail if it is very wet. You should also have a certain fitness level for this hike. Downhill stretches like this put a lot of strain on the shin and knee muscles. Uphill, it’s the thighs’ turn. This is better than any leg workout in the gym, but also more intense ;)
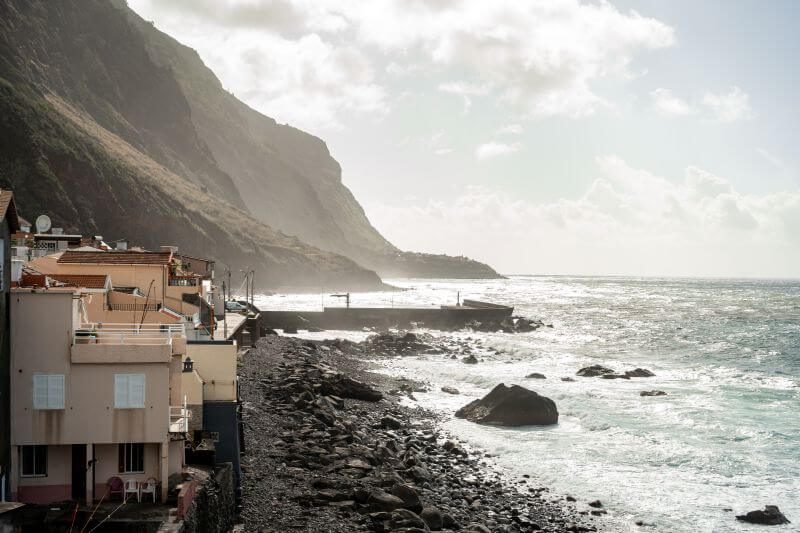
Once you reach the bottom, a great little fishing village awaits you where there are usually not so many tourists. Some of the houses here were built directly into the rocks. Narrow alleyways lead you past them like a labyrinth. There are a few small cafés and a supermarket.
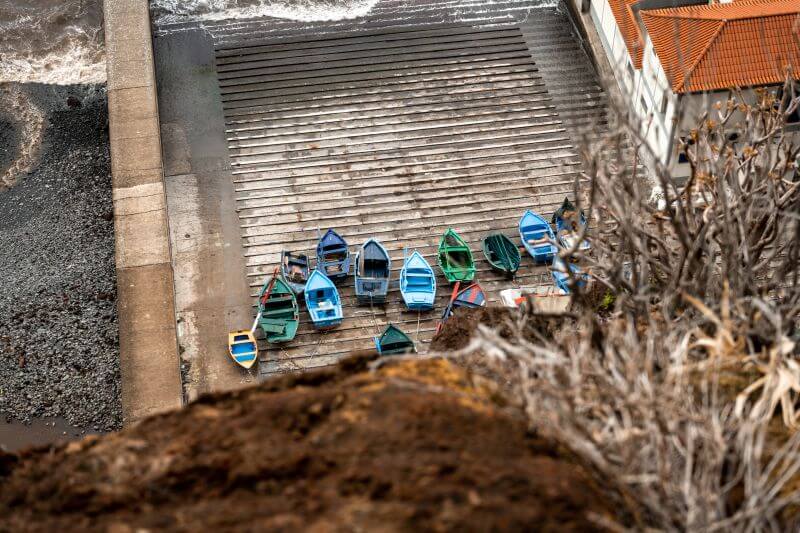

It took me a total of 3 hours to cover the whole route. You have to walk back the same way.
But there is also an alternative route. On the way down, just before it gets really steep, there is a turn-off towards Maloeira. This circular route takes you about 7.5 km back to the starting point in Prazeres and also takes about 3 hours.
PR 13 – Through the fairy forest along the Vereda do Fanal
Distance: 10.8 km (outward journey only)
Duration: approx. 4 hours (outward journey only)
Map: Download here
Difficulty level: Easy
For families with children: All routes around Fanal should not be a problem. However, the complete PR 13 there and back is too long.
First of all: I didn’t walk the entire PR 13, but only a small section of it. The complete route of this trail is about 10 km long (outward journey only). It starts at the ER 209 in Pico dos Assobiadouros and takes you all the way to Fanal. It will take you about 4 hours. And there is no circular route here.
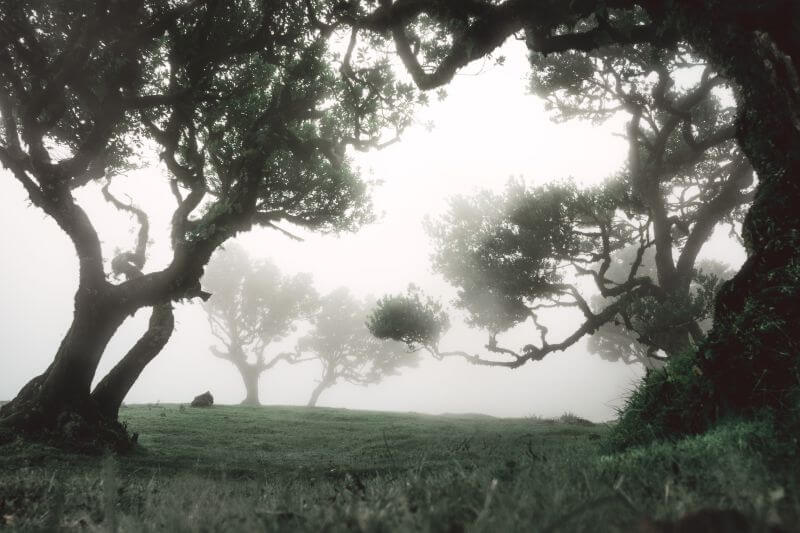
However, you should definitely not skip this region. If, like me, you don’t have enough time for the whole route, I recommend that you simply hike along the fairy forest in Fanal for at least 1 to 2 hours. There are a few shorter routes here.
Like stubborn inhabitants, the ancient laurel trees have been rooted in this almost ghostly forest for centuries. Thick wafts of mist drift through their branching crowns, which have clearly been shaped by the wind. The air is damp. Sometimes I can’t even see 5 meters away. The gnarled trees are surrounded by fields full of ferns and green meadows where trusting cows graze. Every now and then, a few rays of light penetrate the wall of fog and provide some warmth. The raw beauty and tranquillity of this landscape leaves me speechless.
from my travel notes
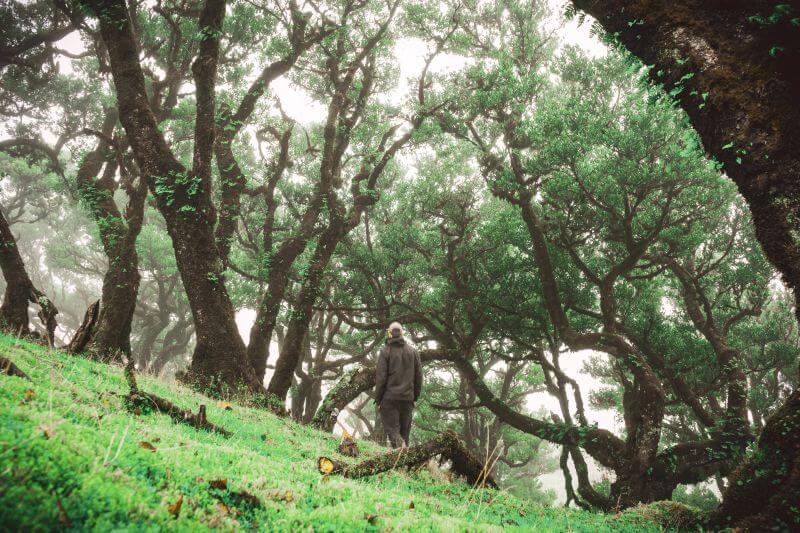
There is a sign directly at the Fanal parking lot with 3 routes signposted. These are not very challenging and are particularly suitable for families. I myself simply walked a little off the routes to Fanal Pond, a small pond, and then through the woods in the area. Some of the trees here are older than the discovery of the island.
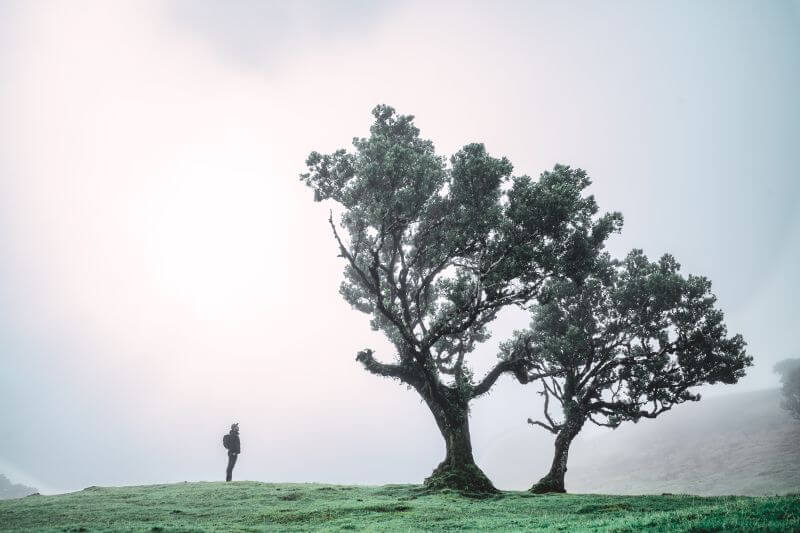
From the edge of this flatter plain, you have a great view of the northern coast. At the eastern end is the Pedreira hill, which can be seen from afar. It is easy to walk up and from the top you have a great view of the whole Fanal area.
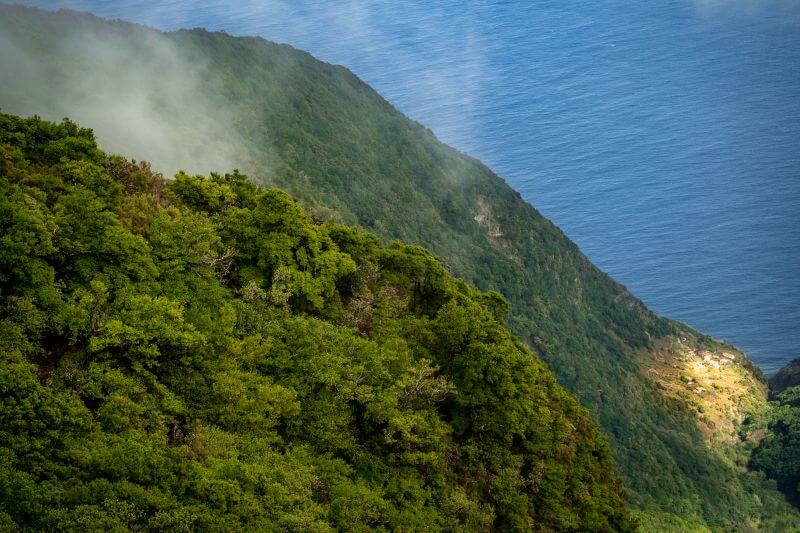
Pr 1 – Over the mountains to the highest peak in Madeira
Distance: approx. 6 km (each way)
Duration: approx. 6 hours (there and back)
Map: Download here
Difficulty level: Medium
For families with children: Up to the Miradouro do Juncal and perhaps a little further is no problem. But as soon as it gets steeper, I would not recommend hiking further with smaller children.
This hike was an absolute highlight of my Madeira vacation. It leads from the third highest mountain, Pico do Airerio, to the highest, Pico Ruivo.
There are several routes that lead to Pico Ruivo:
- Via the Pico do Airerio
- Or via the Achada do Teixeira
You can reach both of these starting points by car. The route via Achada do Teixeira is much easier and quicker to walk. It is only 2.2 km on foot.
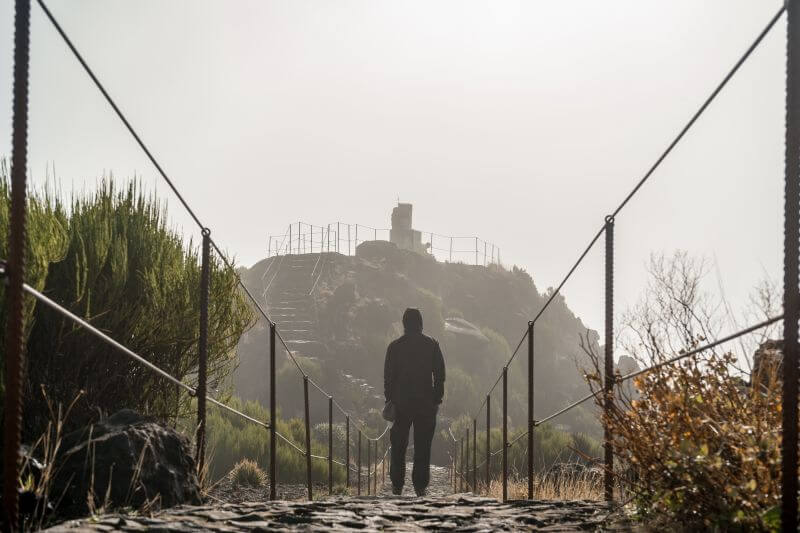
Over the Pico do Airerio you have to cover a longer distance of 7 km, but it is also more adventurous. The route takes you over steps carved into the rock, along narrow paths in the deep gorges of the central mountain massif and through tunnels that were once used as shelters by the shepherds. You should therefore have a head for heights and not be afraid of confined spaces.
There are actually two passes from Pico do Airerio to Pico Ruivo. However, one of them is closed and will probably remain closed for a long time, as some parts of the path have broken off.
It is best to get to the parking lot of Pico do Airerio before sunrise. It is beautiful here and only a few other tourists will do the same.
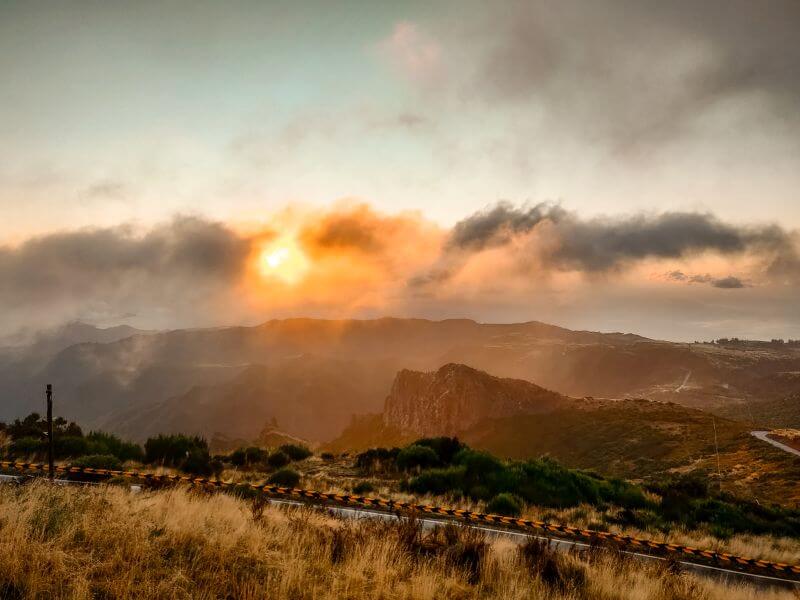
Once you have had your fill of the sunrise, you set off past the observatory to the Miradouro do Juncal. The path continues down the steps carved into the rock to the first tunnel.

Now we continue through several tunnels and past dripping rock faces. Some of the tunnels are pitch dark. I therefore recommend that you take a flashlight with you. A cell phone with a flashlight function will also work.
Sometimes the wind blows strongly around your ears along the pass. But sometimes there is no wind at all. Then all you hear is the echo of your footsteps. If you set off early enough in the morning, you can experience the silence of the mountains. Later in the day, many more tourists will hike along here.

The last section of the trail takes you back up the steep steps to the Casa de Abrigo rest stop. From here, it is only about 20 minutes to the summit.
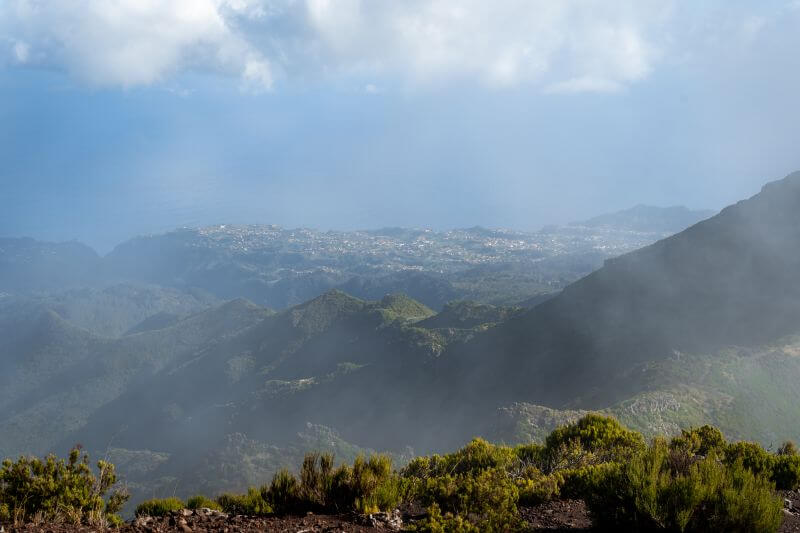
Unfortunately, there is no real circular route here. You can also walk from Pico do Airerio via Pico Ruivo to Achada do Teixeira. But from there you would have to get an expensive cab to take you halfway around the island back to the starting point.
Personally, I didn’t find the route too bad to walk there and back. Later in the day, you will encounter a few more people, but I didn’t find that too bad either.
PR 8 – Across the barren volcanic landscape of the São Lourenço peninsula
Distance: 3 km (each way)
Duration: About 3 hours (there and back)
Map: Download here
Difficulty level: Easy
For families with children: Should be no problem.
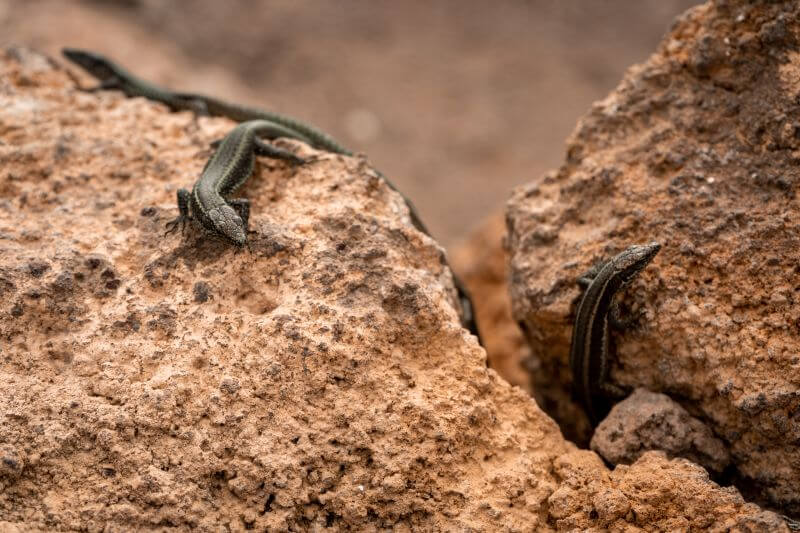
This is Madeira too: on the Ponta de São Lourenço cape on the east coast of the island, you can expect dry, almost desert-like ground of volcanic origin made of trachyte and red tuff with steep cliffs that have been formed so spectacularly by erosion and the force of nature over thousands of years. In contrast to the rest of the island, there are almost no trees here.
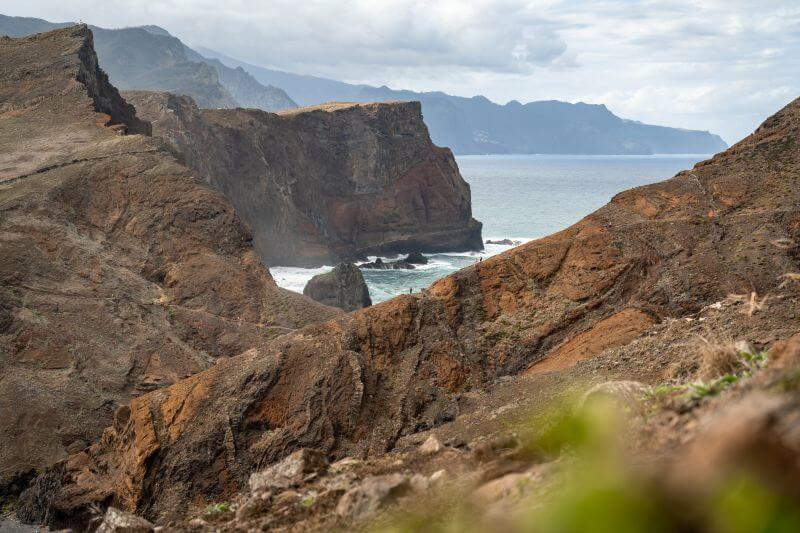
You can go on a hike here that is completely different from the others on Madeira. The regional government bought most of the land here at the end of the 20th century and turned it into a nature reserve.
It takes 3 hours up and down over rocky outcrops, past spectacular bays where the waves lash against the coast. At the end, a steep ascent to a spectacular view of the Morro do Furado awaits you.
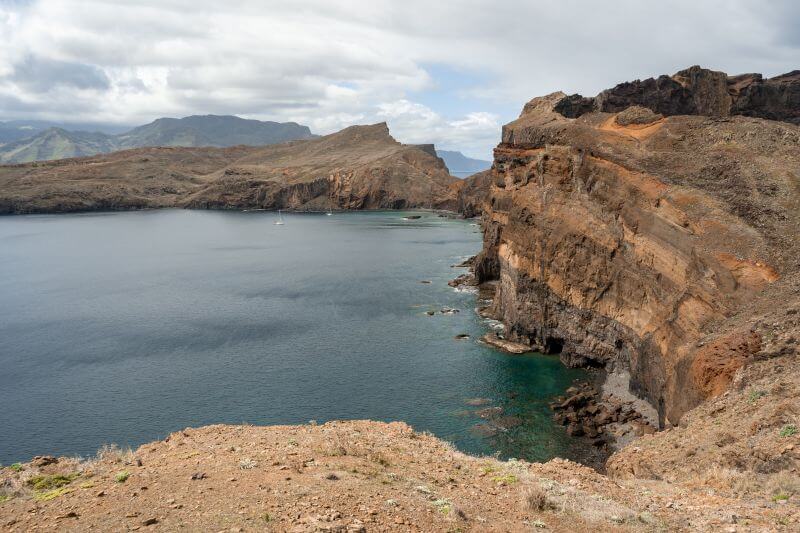
From here, you can easily see the neighboring island of Porto Santo and the uninhabited archipelago of Ilhas Desertas in the south-east of Madeira. You also have a direct view of the two small islands Ilhéu da Cevada and Ilhéu do Farol.
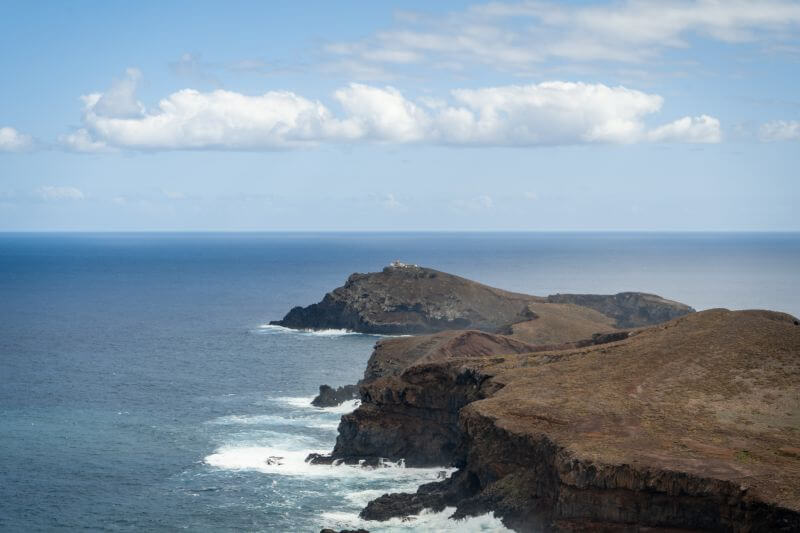
Sheep and cows once grazed on these 2 small islands. Pirates often stopped here to satisfy their need for meat.
There is a restaurant with hot meals and sanitary facilities on the way: the Casa do Sardinha. Just a few minutes’ walk away, you can descend to Praia das Sardinhas and cool off in the water.
PR 11 – Walk to the Vereda dos Balcões viewpoint
Distance: 1.5 km (each way)
Duration: 1 hour (there and back)
Map: Download here
Difficulty level: Very easy
For families with children: Well suited for children.
This hike is very easy and is one of the shorter ones. The trail takes you through the Laurissilva forest along the levada of Serra do Faial past the village of Ribeiro Frio to a great viewpoint, the Miradouro Balcões.
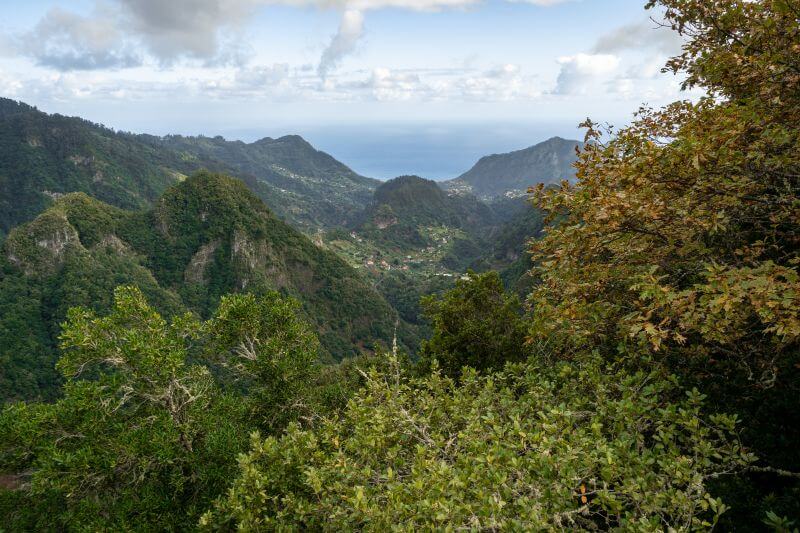
The entire route only takes about 30 minutes one way, so about 1 hour there and back. There is also a souvenir store with a café along the way.
Madeira Hiking-Tips
Even though Madeira is made for hiking, there are a few things you should bear in mind:
- Sturdy shoes: I actually recommend sturdy shoes for all hikes on Madeira. In other words, proper hiking boots. I have also seen tourists with low shoes, but they often didn’t get very far. Especially in the rainy season, when the ground is still wet in places and can be very slippery, proper hiking boots will make your life much easier.
- Pack spare clothes for the weather: The weather in Madeira is a science in itself. It can be sunny on the coast and pouring down with rain in the mountains. It is also not unlikely that the weather will change during the course of the day. You should therefore always have the appropriate clothing with you. In addition to sturdy shoes, this includes a rain or hiking jacket, possibly a flowing sweater and thick socks. It also doesn’t hurt to have a few spare clothes in the car. After your hike, you will either be sweaty or soaked by the rain, or both. Spare clothes are worth their weight in gold.
- Pack something to eat: There are no opportunities to buy food along most routes. So pack a few snacks for the road, e.g. for a picnic and to keep you going during your breaks.
- Take a refillable water bottle with you: It is of course important that you drink plenty of water when hiking to avoid dehydration. The good thing about Madeira is that there are small springs and flowing waters everywhere where you can refill your water supply without worrying. So you don’t have to carry 3 kilograms of plastic bottles around with you.
- Bring a flashlight: Some trails, such as the path to Pico Ruivo, require you to walk through dark tunnels. These are not lit. If you don’t have a flashlight, you should at least have a cell phone with a flashlight function. I recommend a headlamp, as this leaves both hands free.
- Use hiking poles: Many of the trails on Madeira are hard on the knees. Hiking poles are a great way to cushion the impact. I personally prefer collapsible ones. They come in different materials at different prices, such as aluminum (cheaper) or carbon (more expensive). Please note that hiking poles are not allowed in carry-on luggage.
- Pay attention to the time of sunset: it’s no fun walking several kilometers in the dark if you don’t know the area you’re hiking in very well. And it can also be dangerous. I therefore recommend that you always plan your hike with the official sunset times in mind. For example, if the sun sets at 19:00, then you shouldn’t start a 4-hour hike at 17:00. It may still be light for about 30 – 45 minutes after the actual sunset, but you should only plan this as an extra buffer.
- Get a Madeira hiking guide: There are several Madeira hiking travel guides. Some of them even offer GPS track data of the individual hikes for downloading. Take a look here: Madeira Walking Guide: 100 long and short walks
- Always allow an extra hour: The information on the duration of the hikes on the Madeira tourist office brochures was always very accurate for me. However, I also hike quite quickly, but I always take a few longer breaks in between or walk a few paths off the beaten track. So if you tend to walk more slowly and also want to take breaks, e.g. for picnics or to take photos, then you should always plan a little more than is officially indicated. That way you won’t run out of time towards the end.
- Set off early: Most tourists go on hikes when it is a little warmer during the day, i.e. a few hours after sunrise. If you start earlier, i.e. shortly after sunrise, you can enjoy the tranquillity of Madeira’s nature all to yourself.
- Look for accommodation close to the hike: the closer you stay to the starting point of the hike, the easier it is to get there before everyone else.
- Take a guided tour if you have little hiking experience: You can tackle all of these tours described here on your own and it’s also quite unlikely that you’ll get lost. However, there are also plenty of guided tours where you can get lots of additional information from the locals.
Here are a few examples:
- Guided sunrise hike on Pico Ruivo with pick-up from the hotel
- Levada hike in the Rabaçal valley – day tour
- Level 1 canyoning adventure
- From Funchal: Hike to the peaks of Madeira
More Madeira
I have written an article about the best Madeira sights. In it you will find many more tips on accommodation, the weather in Madeira, the best time to visit Madeira and much more:
Which hikes do you want to do in Madeira? Which one did you like best? Write me a comment!
Tools & services I recommend for your trip:*
📶 Flexible and affordable mobile Internet worldwide
🚁 My drone for aerial photography
🚗 Find and compare cheap rental cars
🎟 Find and book cool activities
🔒 Secure Internet connection with NordVPN
*Note: These links are affiliate links. If you book through them, I will receive a small commission without it being more expensive for you. A purchase from you via these links helps me to continue offering free content without annoying ads on this website. Thank you for your support! I really appreciate it!

